
Fixing back focus in your lens is usually simple, involving camera settings or minor adjustments. This guide explains how to identify and resolve back focus issues for sharper photos.
Key Takeaways
- Identify back focus by testing sharpness.
- Use your camera’s AF Fine Tune feature.
- Adjust focus settings for better accuracy.
- Ensure proper lens and camera compatibility.
- Clean your lens and camera contacts regularly.
- Consider professional calibration if issues persist.
What is Back Focus and Why Does it Matter?
Have you ever taken a photo, only to find that your subject isn’t as sharp as you expected, even though you’re sure you focused on it? It can be incredibly frustrating, especially when you’re trying to capture that perfect moment. This common photography problem is often caused by something called “back focus.”
Simply put, back focus is when your camera’s autofocus system doesn’t quite hit the exact point you intended. Instead, it focuses slightly behind your intended subject. This is why your subject might look a little soft or out of focus. It’s a common issue that can affect any camera with an autofocus system, from professional DSLRs to mirrorless cameras.
The good news is that you don’t need to be a camera technician to fix it. In most cases, you can resolve back focus issues yourself with a few straightforward steps. This guide will walk you through what back focus is, how to identify it, and most importantly, how to fix back focus in your lens so you can start capturing the crisp, sharp images you envision. Let’s dive in!
Understanding Back Focus vs. Front Focus
Before we get to fixing it, it’s helpful to understand what back focus is and how it differs from its opposite, front focus.
Back Focus: This is when the autofocus system concentrates on a point slightly behind your intended subject. Imagine you’re trying to focus on a person’s eyes, but the sharpest point in the image ends up being their ear or the background behind them. That’s back focus.
Front Focus: This is the opposite. The autofocus system focuses slightly in front of your intended subject. So, if you’re focusing on those same eyes, front focus would mean the sharpness lands on the tip of their nose or even further forward.
Both issues lead to soft images, but they have different causes and require slightly different approaches to correct. For the purpose of this guide, we’ll focus on how to fix back focus in lens, as requested.
How to Identify Back Focus in Your Lens
The first step to fixing a problem is always identifying it. How can you tell if your camera system is suffering from back focus issues? The most reliable way is through a simple test.
The Back Focus Test
You’ll need a few things for this test:
- Your camera
- The lens you suspect has back focus issues
- A flat surface (like a table)
- A ruler or a target with clear markings (like a book with text or a newspaper page)
- A tripod (highly recommended for stability)
Here’s how to do it:
1. Set Up Your Scene: Place your ruler or target on the flat surface. Position it at an angle so that the numbers or text are clearly visible. You want to be able to see a clear progression of focus from near to far.
2. Position Your Camera: Mount your camera on a tripod. Make sure the camera is perpendicular to the ruler or target. This ensures you’re not introducing any unintentional focus shifts due to your angle.
3. Set Your Focus Point: Choose a focus point on your camera and aim it at the “0” mark or a specific, clear point on your ruler or target.
4. Enable Autofocus: Set your lens to autofocus (AF mode).
5. Take a Shot: Take a photo.
6. Review the Image: Zoom in on the image on your camera’s LCD screen. Examine where the sharpest point of focus actually is.
- If the “0” mark is sharp, you likely have correct focus.
- If the numbers beyond the “0” mark (further away from the camera) are sharper than the “0” mark itself, you have back focus.
- If the numbers before the “0” mark (closer to the camera) are sharper, you have front focus.
Repeat this test at different focal lengths and apertures to see if the issue is consistent.
When to Suspect Back Focus
You might suspect back focus if you consistently notice:
- Portraits where the eyes are slightly soft, but the background is sharper.
- Subjects that lack critical sharpness, especially at wider apertures.
- Autofocus hunting or struggling to lock onto subjects reliably.
How To Fix Back Focus In Lens: Step-by-Step Solutions
Once you’ve confirmed back focus, it’s time to fix it. Fortunately, most modern cameras offer solutions.
Step 1: Check Your Camera Settings (AF Fine Tune/Microadjustment)
This is the most common and effective way to fix back focus issues. Many DSLR and mirrorless cameras have a built-in feature called “AF Fine Tune,” “AF Microadjustment,” or something similar. This setting allows you to tell your camera to make tiny adjustments to where the autofocus system focuses.
What is AF Fine Tune?
When you use AF Fine Tune, you’re essentially recalibrating the camera’s autofocus system for a specific lens. The camera will then remember this adjustment for that particular lens. If you switch lenses, you’ll need to re-run the calibration for the new lens.
How to Use AF Fine Tune:
The exact steps vary by camera brand and model, but the general process is as follows:
1. Access Your Camera’s Menu: Navigate to your camera’s settings menu. Look for a section related to autofocus settings.
2. Find AF Fine Tune: Locate the “AF Fine Tune,” “AF Microadjustment,” “AF Calibration,” or similarly named option.
3. Select a Lens: If your camera allows, select the specific lens you are having issues with. Some cameras can store microadjustment values for multiple lenses.
4. Choose to Calibrate: Select the option to calibrate or adjust.
5. Perform the Test (Again): Your camera might guide you through a test similar to the ruler test described earlier. You might need to place a target at a specific distance (e.g., 1 meter or 3 feet) and take a photo.
6. Adjust the Value: The camera will analyze the photo and suggest an adjustment value, or it might ask you to manually input one.
For Back Focus: You need to tell the camera to focus closer. This usually means entering a positive number in the adjustment setting. Try small increments first (e.g., +1, +2).
For Front Focus: You would need to tell the camera to focus further away, usually by entering a negative number.
7. Confirm and Save: Save the adjustment.
8. Retest: Take another photo with the ruler or target to confirm that the back focus issue has been resolved. If it’s still not perfect, you can go back and make further small adjustments.
Pro Tip: Always start with small adjustments and retest. Drastic changes can sometimes make the problem worse. Also, ensure your battery is fully charged before performing AF Fine Tune, as interrupting the process can cause issues.
Examples of AF Fine Tune Menu Locations (General):
| Camera Brand | Menu Section Example |
| :————— | :————————————————- |
| Canon | Menu > AF Menu > AF Microadjustment |
| Nikon | Setup Menu > AF Fine Tune |
| Sony (Mirrorless) | Setup Menu > AF > AF Microadjustment (may vary) |
| Fujifilm | Setup > AF / MF > AF Fine Tune (may vary) |
Note: These are general examples. Refer to your camera’s manual for precise instructions.
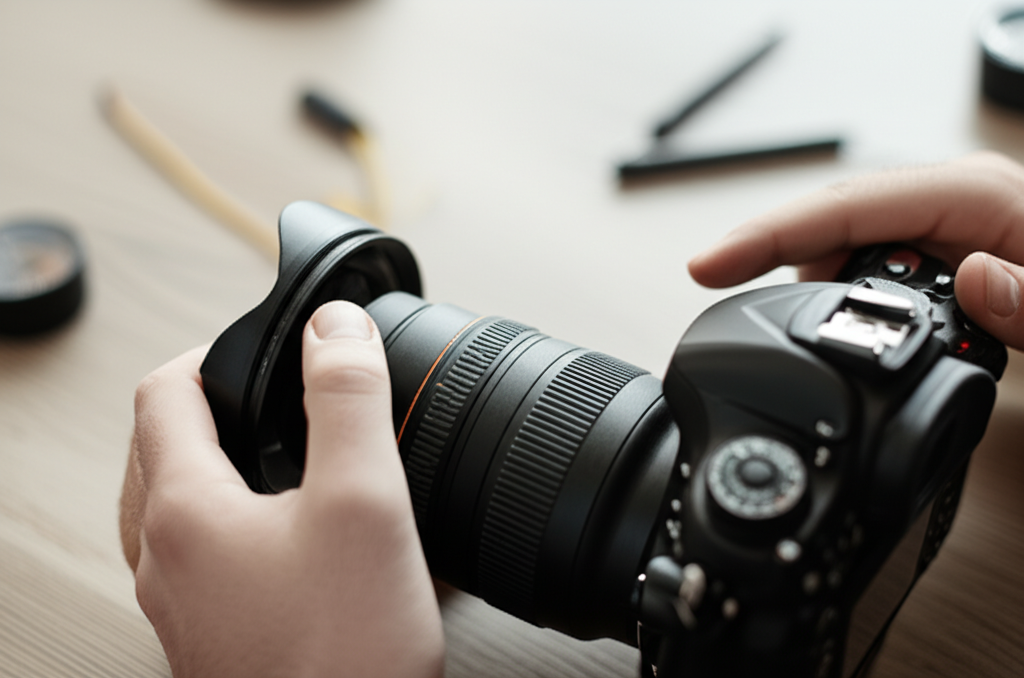
Step 2: Clean Your Lens and Camera Contacts
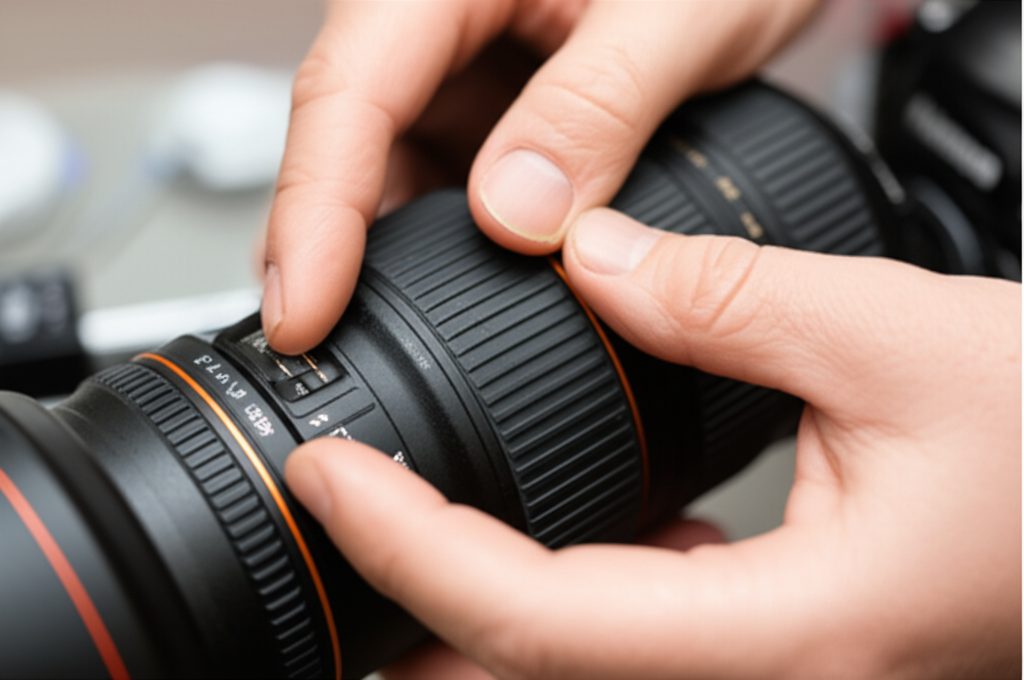
Corroded or dirty electrical contacts between your lens and camera body can interfere with the communication between the two. This can lead to autofocus errors, including back focus.
Why Cleaning Matters
The electrical contacts are crucial for transmitting data, such as focus commands and lens information. If they are dirty, this data can be corrupted or lost, causing the autofocus system to behave erratically.
How to Clean Contacts:
1.
Detach Lens and Camera: Turn off your camera and detach the lens.
2. Use a Lens Cleaning Cloth: Use a clean, dry microfiber lens cleaning cloth. Gently wipe the gold-colored electrical contacts on both the lens mount and the camera body mount.
3. Use an Electronics Contact Cleaner (Optional): For stubborn corrosion, you can use a cotton swab lightly dampened with a specialized electronics contact cleaner. Ensure it’s designed for electronics and evaporates quickly. Do not use rubbing alcohol or household cleaners.
4. Allow to Dry: Let the contacts air dry completely before reattaching the lens.
5. Reattach and Test: Reattach the lens and turn on your camera. Test autofocus to see if the cleaning has made a difference.
Step 3: Check Lens and Camera Compatibility
Not all lenses and camera bodies are designed to work seamlessly together, especially if you’re using third-party lenses, older lenses with adapters, or accessories like teleconverters.
Third-Party Lenses and Adapters
While many third-party lenses (Sigma, Tamron) are excellent, sometimes their autofocus performance might not be as perfectly optimized for a particular camera body as native lenses. If you’re using an adapter for vintage or other brand lenses, the adapter itself can sometimes introduce focusing issues.
Check Manufacturer Websites: Visit the websites of your lens manufacturer (e.g., Sigma, Tamron) and your camera manufacturer (e.g., Canon, Nikon) to see if they list compatibility information or firmware updates for your specific lens-camera combination.
Firmware Updates: Sometimes manufacturers release firmware updates for lenses that improve autofocus performance or fix bugs. Check for these updates on the lens manufacturer’s website. Similarly, camera bodies can sometimes receive firmware updates that enhance AF performance with certain lenses.
Step 4: Adjust Aperture and Shooting Conditions
While not a “fix” for the lens itself, understanding how aperture and shooting conditions affect autofocus can help you work around back focus issues.
Shooting at Wider Apertures (e.g., f/1.8, f/2.8): These lenses have a very shallow depth of field. This means that the in-focus area is extremely thin. Any slight back focus will be much more noticeable. If you find back focus is a problem, try stopping down the aperture a little (e.g., to f/4 or f/5.6) to increase the depth of field. The subject will appear sharper because there’s a larger range of distance that appears in focus.
Low Light Conditions: Autofocus systems struggle more in low light because there’s less information for the camera to lock onto. This can exacerbate existing back focus issues or cause focus to miss entirely. In low light, consider:
Switching to a single AF point and carefully placing it on a high-contrast area of your subject.
Using a lens with a wider maximum aperture.
Using an AF assist light if your camera has one.
Subject Movement: If your subject is moving, the AF system might struggle to keep up, leading to missed focus that could be mistaken for back focus. Using continuous autofocus (AI Servo on Canon, AF-C on Nikon/Sony) and appropriate AF point selection can help.
When to Consider Professional Calibration
If you’ve tried all the steps above, including the AF Fine Tune, and you’re still experiencing significant back focus issues, it might be time to consider professional help.
Reasons for Professional Calibration:
Persistent Issues: Even after performing AF Fine Tune, the problem remains or is inconsistent across different conditions.
New Lens Problems: The back focus issue was present practically from the moment you bought the lens.
Severe Back Focus: The focus misses by a significant margin, making it impossible to get sharp shots.
What a Professional Can Do:**
Professional camera and lens repair services have specialized equipment to rigorously test and calibrate your lens and camera body’s autofocus system. They can:
- Identify if the problem lies with the lens, the camera body, or both.
- Perform precise internal adjustments to the lens optics or camera focusing elements.
- Ensure optimal performance across all focus points and apertures.
You can usually find authorized service centers for your camera brand or reputable independent camera repair shops. Be aware that this service will involve a cost and some downtime for your equipment.
FAQs about Fixing Back Focus
Here are answers to some common questions beginners have about back focus.
Q1: Is back focus the same on all my lenses?
A1: No, back focus issues are often lens-specific. A camera might perform perfectly with one lens but show back focus with another. This is why AF Fine Tune often requires calibration per lens.
Q2: Can a software update fix back focus?
A2: Sometimes, yes. While not a direct fix for mechanical issues, firmware updates for your camera or lens can improve autofocus algorithms and communication, which might mitigate or resolve minor back focus problems. Always check your camera and lens manufacturer’s websites for the latest firmware.
Q3: I don’t have an AF Fine Tune setting. What can I do?
A3: Older camera models or some entry-level cameras might not have an AF Fine Tune feature. In such cases, your best options are to:
- Ensure your lens and camera contacts are clean.
- Try shooting with a slightly narrower aperture (larger f-number).
- Carefully use manual focus.
- Consider professional calibration if the issue is severe.
Q4: How often should I calibrate my lens for back focus?
A4: You only need to calibrate if you notice focusing issues with a specific lens. If a lens consistently produces sharp images, there’s no need to adjust it. Re-calibration might be necessary if you update your camera’s firmware or if you suspect the camera or lens has been bumped or damaged.
Q5: Can I fix back focus on prime lenses?
A5: Yes, the process is the same for prime lenses as it is for zoom lenses. Use the AF Fine Tune feature in your camera or consider professional calibration if needed.
Q6: What’s the difference between back focus and focus breathing?
A6: Focus breathing is a phenomenon where the field of view changes slightly as you adjust focus. It doesn’t affect where the focus lands, but rather the framing. Back focus is about the accuracy* of where the focus point is set.
Conclusion
Experiencing back focus can be disheartening, but it’s a solvable problem for most photographers. By understanding what back focus is and systematically working through the steps outlined in this guide – from performing simple sharpness tests and utilizing your camera’s AF Fine Tune feature to cleaning contacts and checking compatibility – you can significantly improve your autofocus accuracy.
Remember, patience is key. Test, adjust, and retest. For persistent problems, professional calibration remains a reliable option to get your gear performing at its best. With a little effort, you’ll be back to capturing those sharp, impactful images you love. Happy shooting!